

Welp, I’ve had a few weeks to kind of sit back and consider what transpired on the 27th of July. Long story short, I went 1-2, and had a riot playing 3 games in one day.
This tournament was my first experience playing with the ITC format rules. I have to say, they were phenomenal. You never felt like you were completely out of the game, secondaries felt relevant and more or less balanced, and both Board Control and Damage Output/ Resilience were considered. I need to play more of these missions in order to get a better feel for them, but my initial impressions were over the moon.
The tournament roll was relatively small. Initially we had a group of 10 signed up, which dropped down to 8 on game-day.
For info on my list, you can see my previous post on my philosophy and methodology. I’ll try to provide a general breakdown of my opponents as we go. It should also be noted the tournament was comped to only allow for detachments from the same book. So Imperial / Chaos soups were on the sidelines.

Match One – Tyranids
Someone threw my Leviathan Tyranids back at me! The list was a smattering of everything, but featured a lot of the medium sized buggos, including 6 Hive Guard, 6 Venomthropes, and 6 Zoanies + Neurothrope, Warriors + Tyranid Prime, and a Brood Lord. Toss in a Mawloc, Trygon, Winged HiveTyrant (with Miasma Cannon), a Rupture-Cannon Tyrannofex, and a unit of 20+ Devourer Gants.

On the secondary objectives I took Gang Buster, Big Game Hunter, and Old School. My opponent took Big Game Hunter, marked all of my Leman Russes for Death, and took oldschool as well.
The bugs seemed pretty keen in trying to win a mid-range shooting festival with the Imperial Guard, which doesn’t typically end well (and it didn’t). The Hammer of Sunderance put in some significant work, knocking out most of the venomthropes in the bug backfield, one-shotting the Mawloc, and nearly doing the same to the Hive Tyrant when he arrived. Honourable mention goes to the Hellhound in my list, who simply REFUSED TO DIE and nearly killed the Trygon without assistance on a round of overwatch and the shooting phase thereafter. Everything he had, I seemed to have an answer for.
On the bug side of things, those Hive Guard proved to be particularly murderous, knocking out my transports left and right, though notably lacking the range to really do any significant damage to my heavy armour in the backfield (and his secondary objectives, the Leman Russes). It took a few turns of plunking away, but eventually his Rupture-Cannoned Tyrannofex managed to blast the Leman Russ Punisher into pieces, but not before my Engineseer repaired about 5 hullpoints over that period…
In fairness to my opponent, we were playing the table wrong. With ITC terrain rules, any windows on the ground floor of the building are considered LoS blocking. We were playing true line of sight which really made his life difficult. In the end, we were both piling units on to the center of the table onto the objective, but it was the Guard who took the victory, largely aided by the secondary objectives. If I recall the final score wound up being 21-17 or something close to there…
Match Two – ALL THE DEMONS
I really struggle with the army composition of this one, but the long and short of it is that you’ve got yourself about 27×3 Plaguebearers, 30ish Bloodletters that could deep strike, apparently(?), 10×4 Blue Horrors, a pair of Demon Princes, and a bunch of (Greater?) Flamers of Tzeentch. Effectively, it’s a repurposing of the army I faced down in this battle report, including the same grizzled veteran of an opponent.
(aside: MY GOD WAS THAT BATTLE IN 2017?!?!)

For secondaries I opted to go for Reaper, Head Hunter, and Kingslayer. The Demons went with Engineers (selecting two units of plaguebearers), Ground Control and Recon.

From the Guard perspective, some very critical mistakes were made in the early going, not the least of which was allowing the Hellhound to get charged and completely surrounded by one unit of Plaguebearers, effectively preventing me from directing any kind of shooting attacks in its direction. I happened to park that Hellhound immediately adjacent a critical objective, and well, yeah. I lost the game 14-12.

That gaffe notwithstanding, I put out an absolutely withering fusilade into the demons, easily maxing out the Reaper within 2 turns, which is kind of shocking given how durable those units are (-2 ‘to hit’ debuff, 5++ invul w/ 5+++ FNP? GET OUTTA TOWN), and that I forgot that this little gem was a thing:

There was some typical Guardsmen-level ingenuity, wherein I led a final daring raid nabbing a Herald of Nurgle and controlling the center objective, which was great until my Valkyrie was dragged down by a Demon Prince of Khorne… Another regret of sorts is that I was hoping that taking Kingslayer would force my opponent to keep that Demon Prince away from my front lines, knowing he would be worth so much to me. That didn’t seem to be the case, and I might have been better off taking another objective that actually earned me points…
At any rate, tough army, tough opponent, narrow loss, amazing game. 2/2 in that respect!

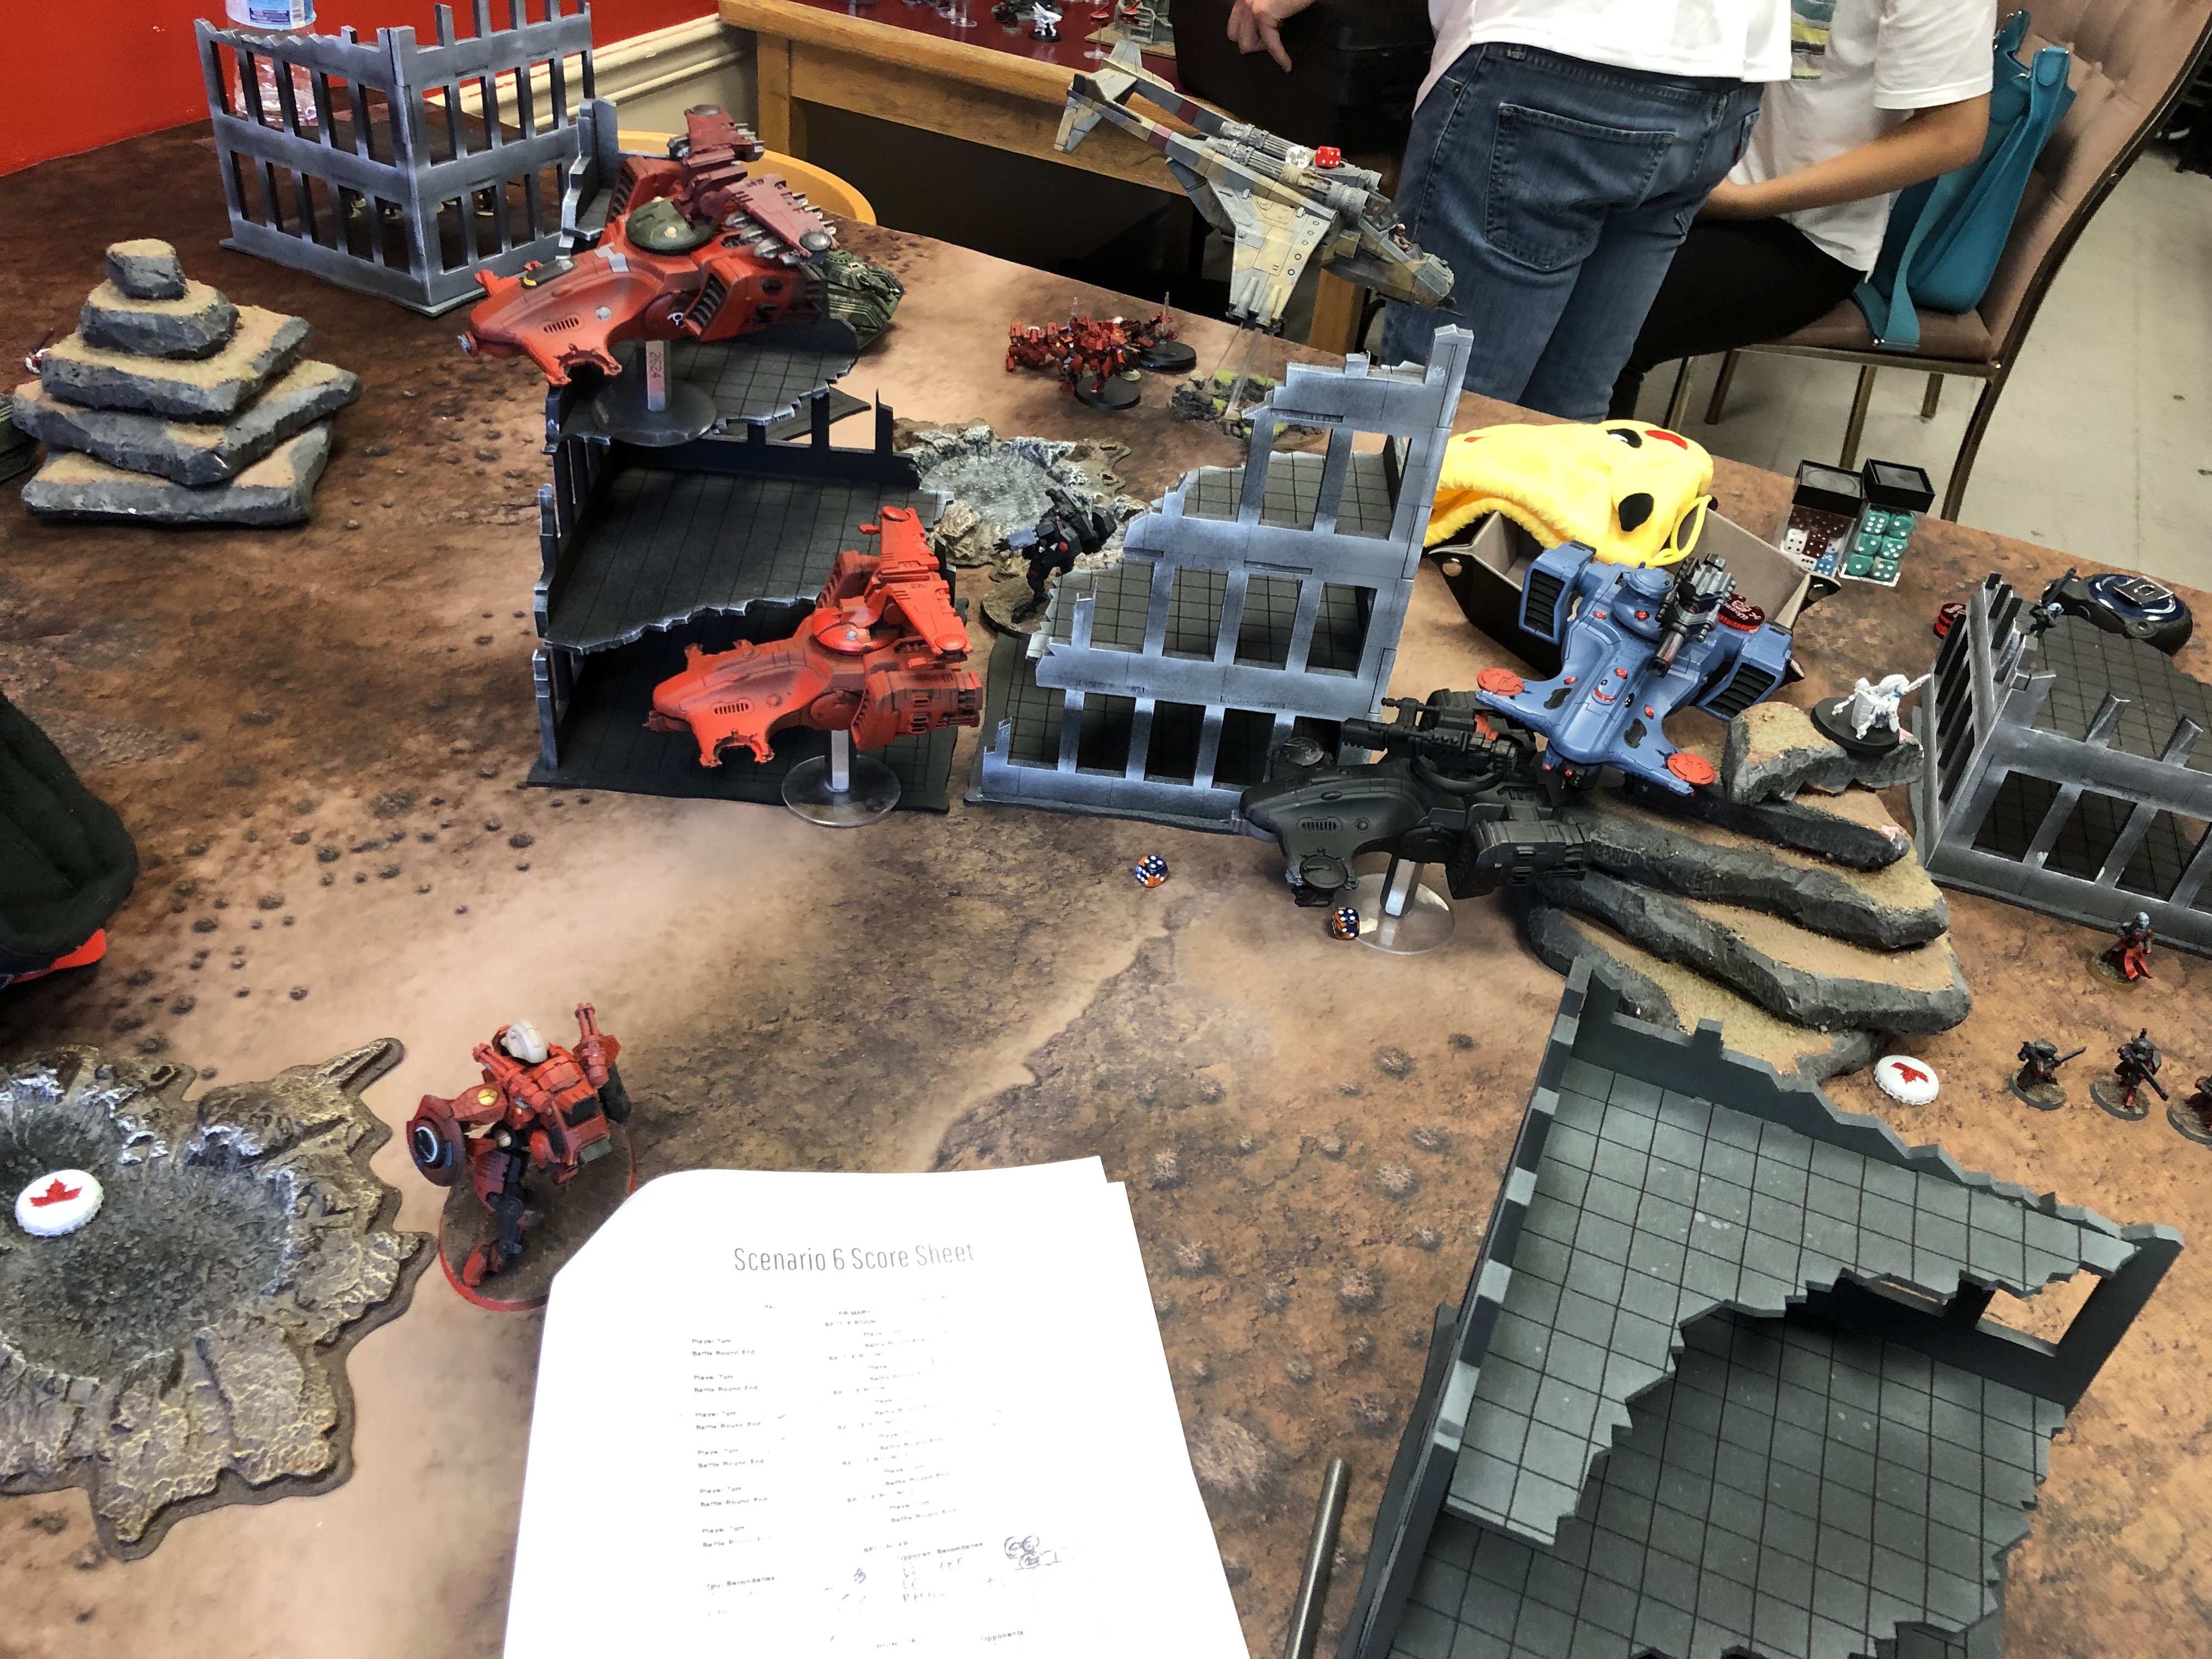
Match Three – T’au
What I remember from this army is that it kind of turned around Longstrike and 3 more Ion Cannon Hammerhead gunships, but there was so much more than that… 2 Skyrays made for some truly staggering alpha-strike potential, particularly with all the marker light support, plus 3 Ghostkeels to keep everyone else honest. Some fire warriors were scattered around for screening purposes and fireblades because reasons. I think there were also a few battlesuit bodyguards kicking around to help keep Longstrike alive.
For secondaries, I took Marked for Death (hammerheads), Old School, and Big Game Hunter (those Ghostkeels qualified). The T’au picked up Marked for Death (Leman Russes), Big Game Hunter (everything else) and Recon.
Looking over my army list, my opponent noted, “If you survive the first turn, you might really do some damage…”
*BIG GULP*
I seized the initiative. I was elated. The Hammer of Sunderance put in more work, splatting the first Hammerhead, while the rest of my army tried to focus down a ghostkeel at point blank range. Well, the ghostkeel lived but at least I took a nibble out of that damned hammerhead parking lot back there…


Of course it was then that I learned that the ghostkeel’s drones could be individually targeted, and my day got a bit easier.
*I exhale*. Well, I got some work done.
***T’AU DECLARE MONT’KA AND PROCEED TO WRECK MY LINES WITH ALL THE ION FIRE***

With overcharged Ion Cannons blazing, he knocked out 2.9 Leman Russes, and one of my Chimeras. The Hammer, which had proven so useful, was removed from the table for the first time all day, in the first turn.
In the end, the game was relatively close (I lost by 3 points, around 19-16?) but I had to really claw for every victory point, made significantly more difficult by the lack of any tools I had available. There were a lot more T’au on the table at the end of the match than there were Guard.
In retrospect I might have done well to pick up “Butchers Bill” because there were quite a few smaller units (including detached gun drones, etc.) which would have qualified to pick up. I would have maxed out on that pretty quickly, whereas I only picked up 2 on Big Game Hunter and Marked for Death (if I had only taken Big Game Hunter, that would have been maxed b/c Marked units can’t qualify for BGH…). Something to consider for next tournament.
Final Thoughts
I had an amazing time. Three hotly contested games, with amazing opponents and plenty of memories to carry home with me.
I could certainly hope to optimize my list a little bit. The Leman Russes simply carried most of the burden for me, and felt very points efficient for the work they did. The artillery did well too, for the most part. I included them to keep my opponent honest when it comes to hiding badly damaged units. I might consider swapping out the Manticore for another Wyvern or Basilisk to achieve a bit more synergy but otherwise I have no complaints there…
I dunno, I’ll have to sit on this for a bit. The Guard felt right at home in this circuit, and with a bit more practice I figure I could do quite well with them!
Any tips? Comments? Hit me up below! Cheers!

I really like reading about what I watched, for some reason it was more real when you watch it then get this Battle Rep. The only thing you missed out was your groupie being there and after he left he took all your luck with him too 😉Sent from my Samsung Galaxy smartphone.
Oh absolutely true – forgot about that detail. I was 1-0 with Grantham support, and 0-2 without 😦